This step-by-step tutorial shows you how you are going to add or replace the video background header of your template.
A. Changing video background in a DFY template
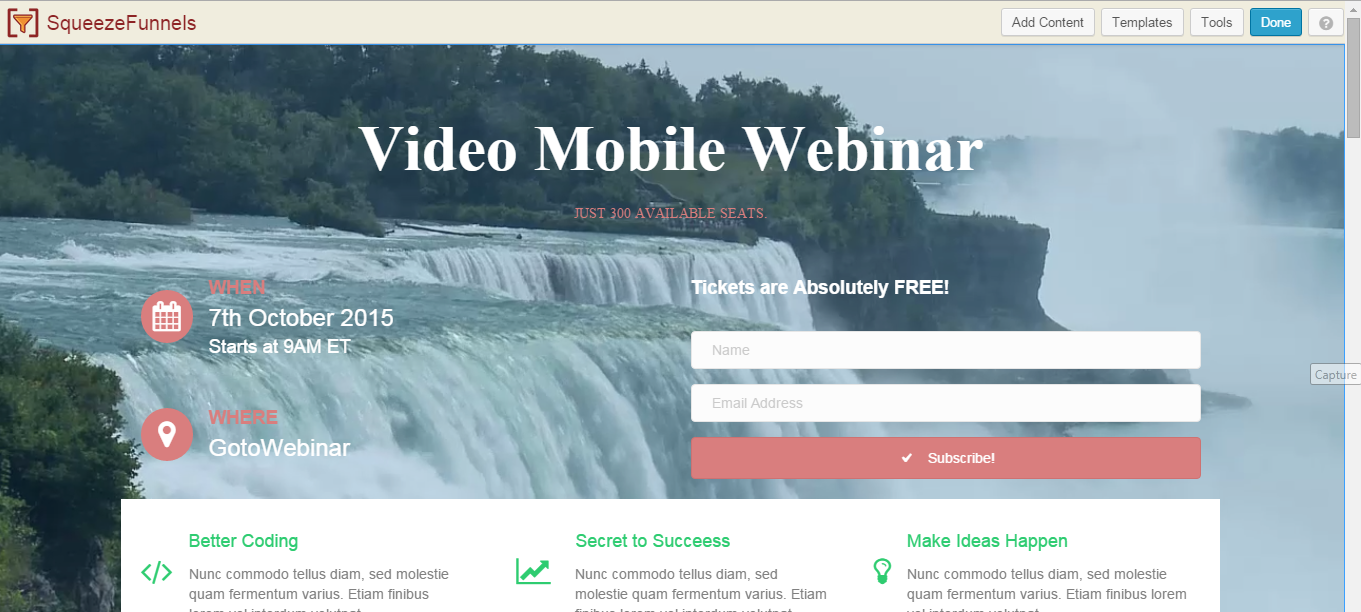
In your funnel dashboard go to All Funnels > Add New > choose a template with a video background header. This is one of the templates that has a video background header.
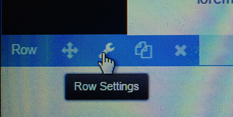
Point your cursor to the video to activate the row settings icons below it. Click on the tool Icon to customize the settings of the.
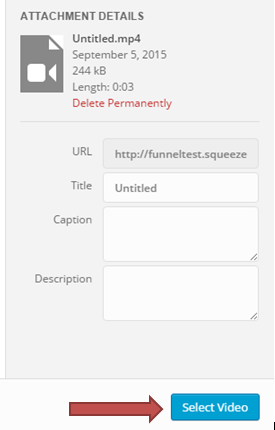
Row settings pop-up page opens, select video as the type. Click the Select Video. Click the Select Video to upload a video for your background header. Either select from your media library if you have already uploaded the video or upload a file from your computer.
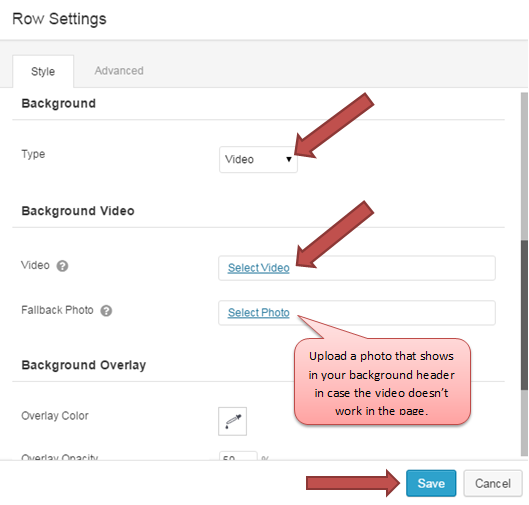
Once you have the video uploaded successfully click Select Video to use add it in your header.
Note: Maximum size of the video is 1MB.
Once you are done updating your settings click the Save button.
B. Adding a Video Header Background from Scratch
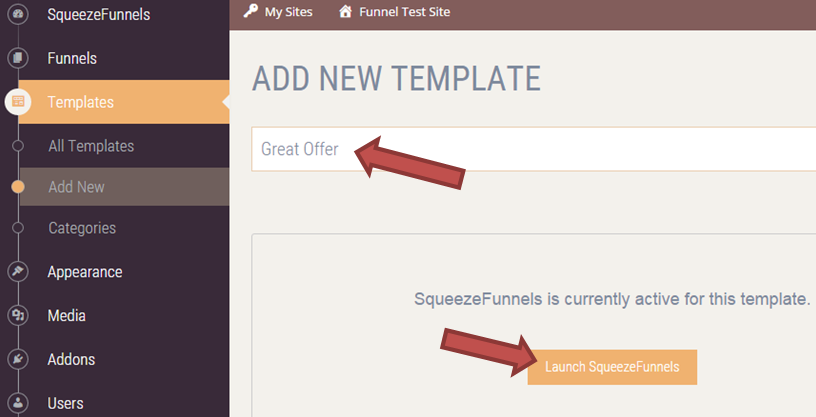
From your funnel dashboard go to Templates > Add New. Enter the name of your template then click Launch SqueezeFunnels.
In the builder expand the Main Module then drag Heading and drop it to the top of the template you are creating.

In the pop-up page enter anything that shows in your header. Adjust the settings the way the text looks in your header then click Save.
To add a video background, point your cursor to the header to see the Row Settings icon. Click the tool Icon of the Row Settings.
In the Row Settings pop-up page select video type. Next select video from your media library or upload it from your computer then click Select Video.
Once you are done click the Save button. Here's a sample of a header text and video background added in this tutorial.

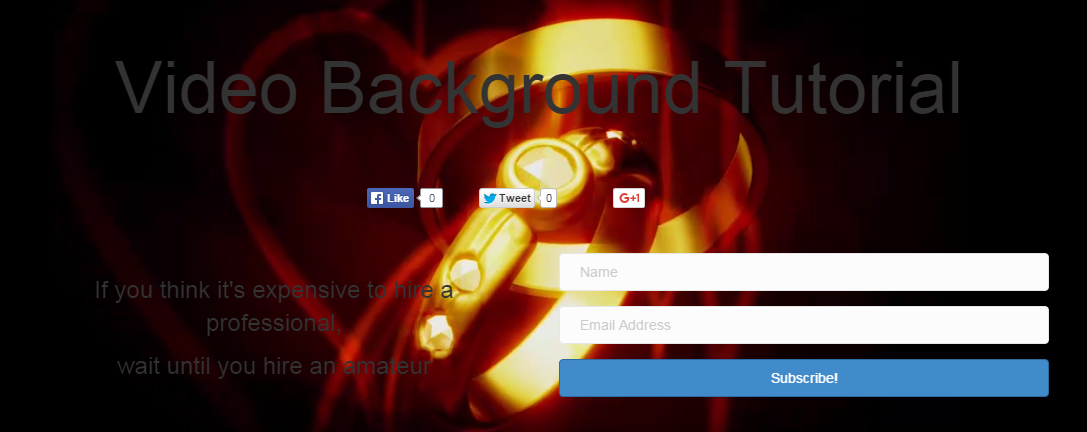
If you like to make your video header background wider you can add either columns or anything from the modules. In this sample I have added Social Buttons, 2 columns from the Row Layouts then dropped Text Editor in the 1st column and Subscription Form in the second column.
Below is how the background looks after adding more info.