If the push notification of your client's app is enable and would like to do their own notification they can do this by creating a restricted access for them.
A. HOW TO CREATE RESTRICTED ACCESS FOR A CLIENT to do their own PN
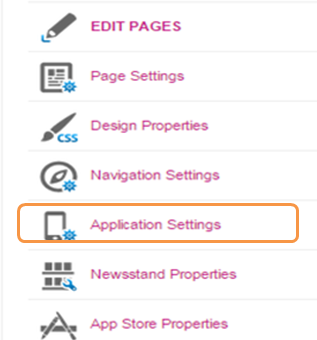
Go to the application dashboard of the app you wanted to create a restricted access for your client. In the dashboard click Application Settings
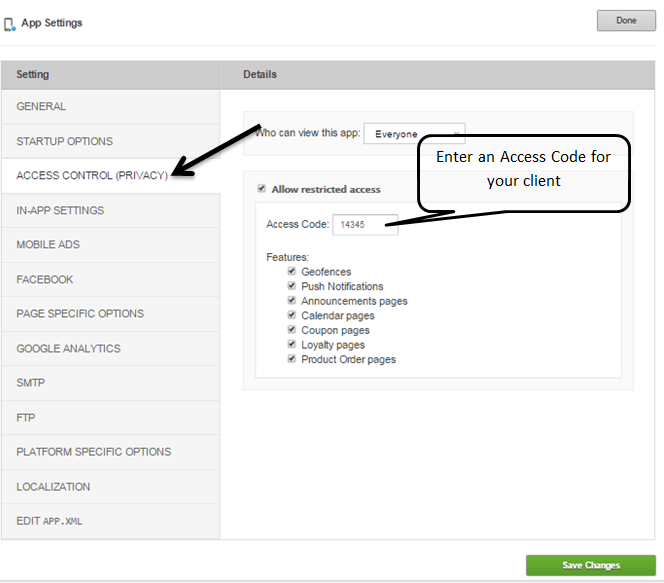
Select Access Control (Privacy). Check the Allow restricted access checkbox to reveal the field to enter Access Code, Enter a code your client need for access. Click Save Changes button then Done.
Back in your application dashboard, click the chain icon to reveal the url you need to send to your client.
Copy this URL and send it to your clients together with the Access Code.
B. HOW TO ACCESS APP DASHBOARD VIA RESTRICTED ACCESS TO CREATE PN
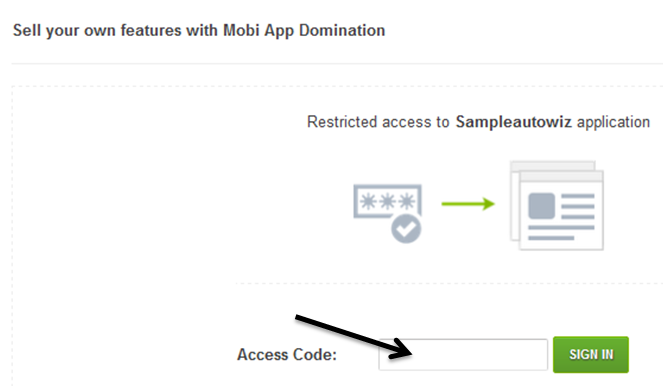
Here's the page your client see first when going into the URL. Access code goes into the Access Code field. SIGN IN
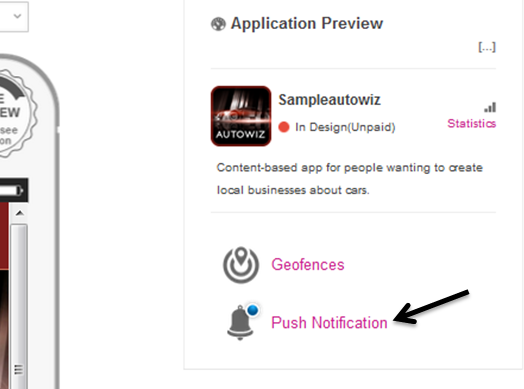
Once they are logged in, this is what they see in the page. They will simply click on the Push Notification to create their own.
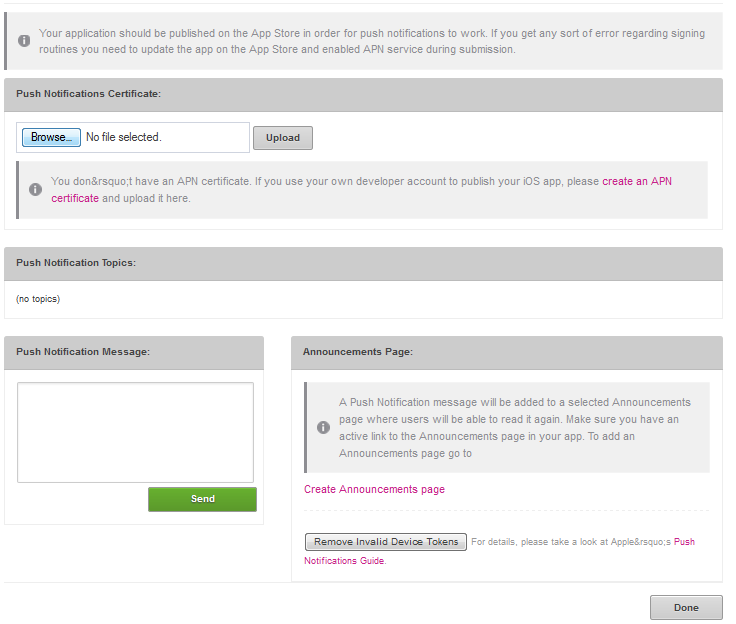
If you have used our Developer Account in publishing your app, no need to upload a PN Certificate. Go straight write your message in the Push notification message field > Send > Done.
Once the client sends a Push Notification, he will see a progress bar showing the number of devices which received the message