Before adding social icons of a premium listing to it's page, upload the social icon images to your media library. Go to Media > Add New. Make sure the icons have the same size so it will look good when added in a page.
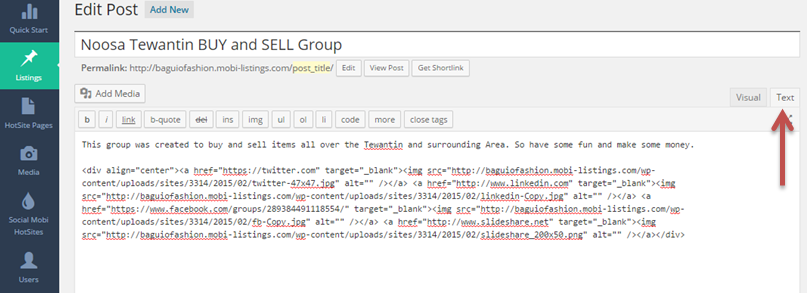
Go Listings > All Listings then click edit of a premium/featured listing. On the Edit Post page click the "Text" from the top right of the editor.

Below the business information paste these codes. Put the social media URLs of the business and the icon URL.
<div align="center"><a href="TWITTER URL" target="_blank"><img src="ICON URL" alt="" /></a> <a href="LINKEDIN PAGE URL" target="_blank"><img src="ICON URL" alt="" /></a> <a href="FACEBOOK URL" target="_blank"><img src="ICON URL" alt="" /></a> <a href=" YOUTUBE CHANNEL URL" target="_blank"><img src="ICON URL" alt="" /></a> <a href="PINTEREST URL" target="_blank"><img src="ICON URL" alt="" /></a></div>
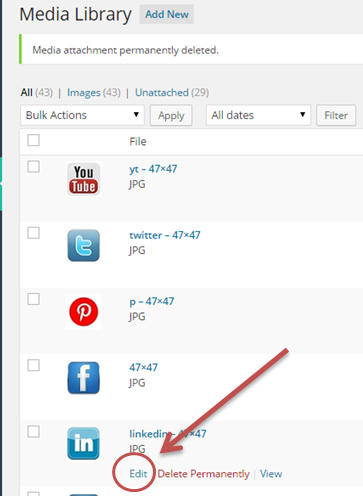
To copy the social icon url, go to Media > Library. Point your cursor to the icon you are going to use then click the Edit button below it.

Once you are in the Edit Media page copy the File URL from the right.

Paste your icon URL to the code where it says "ICON URL". Once you are done click the publish button. After it's successfully saved you will now see the social icons for the listings.

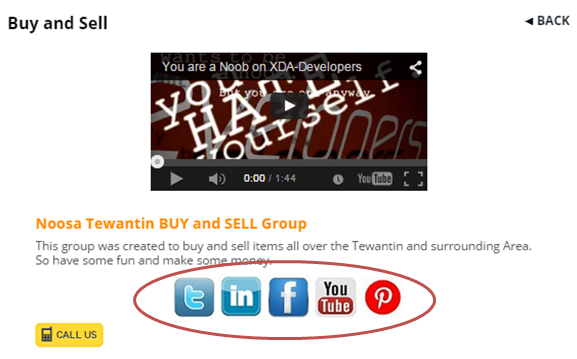
This is how it looks now in the business listing page when opened. So when a customer clicks on the icons in a listing's page, they will be directed to the social media page of the business.

